NES Controller conversion
Alright, I uploaded all the pictures for this a year ago right before my computer’s hard drive crashed. I successfully converted one original factory NES controller to be USB with a 9 foot cord. Here’s the details:
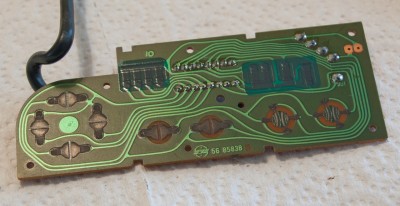
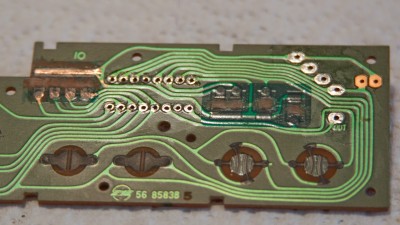
I opened up the NES controller to see what I was dealing with. There were standard button pads, a chip, and connections for NES wires:
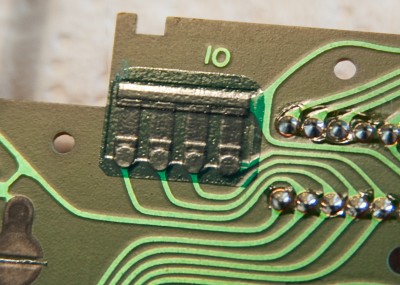
After inspection and testing, I found that there are actually resistors on the board itself – basically just a bunch of resistive material in chunks on the board. These resistors appear to be pull-up resistors, making the voltage going into the chip high whenever the button is not pressed, and then low when the button is pressed. You can see 4 of them (out of 8 resistors for 8 buttons) here:
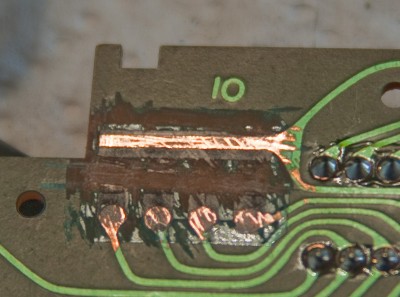
The JoyWarrior chip I’m using calls for open connections (not connected) when the button is up, and closed when down. So to be safe, I scratched all of these off with a miniature standard screwdriver:
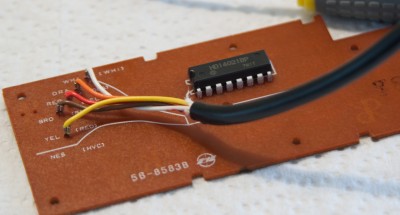
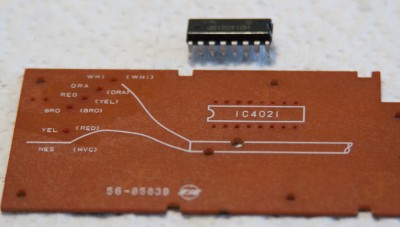
Next, I removed the chip and wires connecting the factory cord:
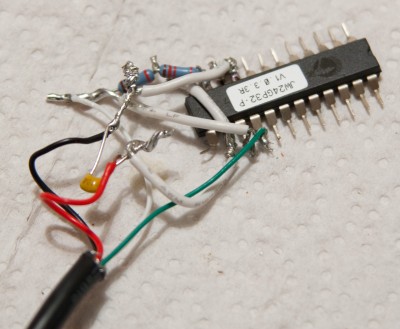
Then, I simply re-created the circuit I prototyped on the breadboard earlier in as small of a space as I could. This took a lot of time, and partially because my soldering iron tip was getting very old and was difficult to work with. Vertical space was very limited, so I had flatted out the pins on the JoyWarrior chip and was trying to solder the wires directly to the chip pins. There was a lot of frustration getting that solder to flow, especially in such a small space! I now keep an extra tip stocked at home at all times. Here’s the completed circuit, without button connections:
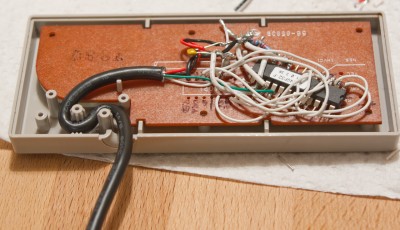
All that was left was then 1 wire for every button, plus 1 ground, from the chip to the NES circuit board. When it was all in place, I put in in the controller and flattened as much as I could. There is a bit of pressure which holds the chip still when the back is screwed on, so I didn’t need to glue it or anything. Here it is just before screwing the back on:
And it works pretty well! I have occasionally noticed some buttons take a bit more pressure than others to activate. I have seen a “gamepad restoration” tutorial online that says this normal wear and tear can be made like new by gluing small pieces of aluminum foil to the buttons, so I may give that a try at some point.
This controller conversion really was a lot of work. I may just get one of the online USB replicas for the second controller, at least initially to see how it works and feels.
Next Post: Case and Controller Solutions
