Bricked :(
Yes, I have bricked the computer. But first, what’s been happening:
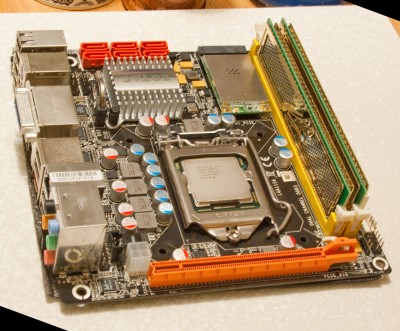
I received all of the computer parts this week, and put them all together outside of the NES to start playing around with stuff. Here’s the Zotac motherboard with the CPU (Intel i5-661) and RAM in place:
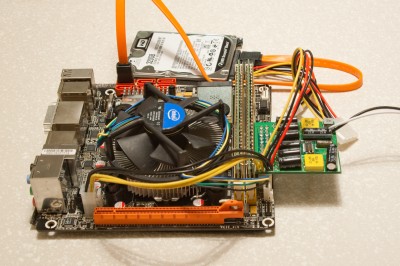
And next, the heatsink added on top of the CPU, the drive connected, and the power supply connected. Unfortunately, the power supply sticking out like this is too big to fit in the NES, so I’m going to have to get a simple extension cable so I can put the power supply board elsewhwere:
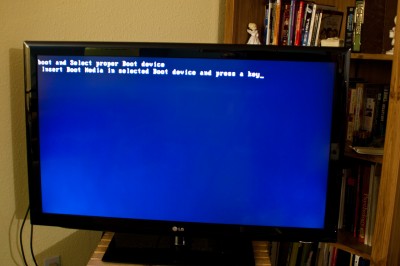
With everything together, I plugged it into the TV and booted it up for the first time. Of course, there’s nothing on the hard drive right now, but at least it works on the 42-inch LCD TV!
So, I installed Windows 7 64-bit so I could try a bunch of stuff out. Stupid Windows had me set the system clock after installation, and then decided that I was past my 30-day trial period. So it complained that I have not activated Windows yet. Anyway, I loaded on all the emulators I want to put on to verify they all work. And they do. In fact, even the Dolphin emulator (Wii emulator) works! It only works well at the native Wii resolution of 720×480, though. It looks really nice and better than the Wii at full HD 1080p, but it runs at about 20% speed. The only way to get good speed at high resolution would be to add a video card, and that simply can’t be done without a power supply that would take up too much room in the NES case. It still runs better than my other 3 year old Core 2 Duo computer.
I also tried replacing the Windows 7 boot up logo an animation using an online tool. I’d show a picture if I hadn’t bricked the computer, but it does work just fine. I can have my own text and animated logo replacing the Windows 7 boot logo (“Starting Windows” with the shining windows logo).
I fired up Netflix, YouTube, and some downloaded 1080p trailers from trailers.apple.com, and everything worked like a charm.
After all that was working, it was time to try replacing the logo inside the BIOS itself. When the computer is first powered on, it shows a “Zotac” logo screen. Now, the BIOS here is an AMI (American Megatrends Inc) BIOS, which is very common. And I was ensured by these instructions that it is very safe to replace the power-on logo. So I created a very simple 64-color logo in Photoshop, followed the instructions, and then wrote the new image to the BIOS. I shut the computer off, then powered it back on. Nothing. The computer will no longer boot, as the BIOS is bad.
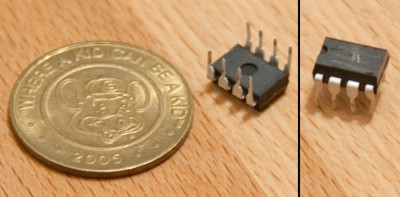
Now, I still don’t know why, but now I need to fix it. You can easily re-program the BIOS once the computer is on, but if it won’t turn on in the first place, then too bad. Fortunately (and I knew this ahead of time), the Zotac BIOS is a DIP (Dual Inline Package) chip that is in a separate socket on the Motherboard. This means I can remove it and flash it with the manufacturers BIOS. Here is the chip causing all this trouble, now removed from the motherboard, shown next to a coin for size:
The only downside is I need to purchase a flash programmer to connect to my other computer now. Fry’s has them, but I may be able to find a better deal on ebay. Once I get it, its only a matter of downloading the manufacturer’s BIOS and programming the .rom image file to this chip, then putting it back into the motherboard. Then I’ll be able to try again (and again) until I get it working.
But for now, until I get the flash fixed, the computer won’t even boot.
P.S.: For those of you that don’t know, a Chuck E. Cheese coin is pretty much the same size as a quarter.
Next Post: Back in Business!


