Original NES
I got my NES the other day off ebay/local pickup. It came with a couple games, so of course I had to plug it in and try out Zelda II: The Adventure of Link :). Unfortunately, it was of much lower quality than the emulators I’m used to. This could be due to my TV not properly de-interlacing/upconverting, but it also looked like there may have been slight corruption of the video signal.
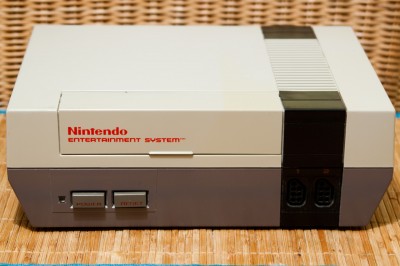
Here it is, the original Nintendo Entertainment System – there’s slight UV exposure damage (yellow discoloration) from years of life. You can barely see on the top where something else was covering it, and it is not damaged.
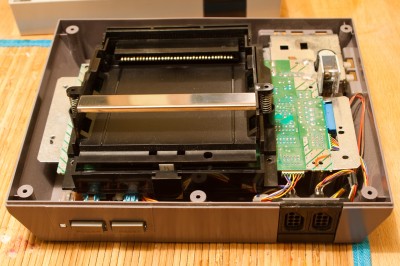
Here’s a shot of it with its top off – and IO shield removed:
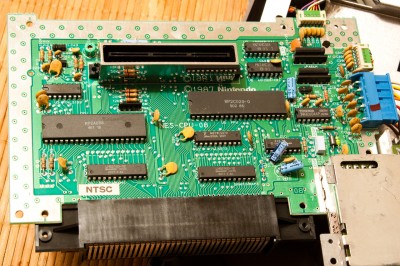
Here’s the underside of the main board. The only 3 connectors to it are the 2 joysticks and wires to the Power, Reset, and power LED. The power supply module is soldered on with a ton of solder, as can be seen in the previous picture.
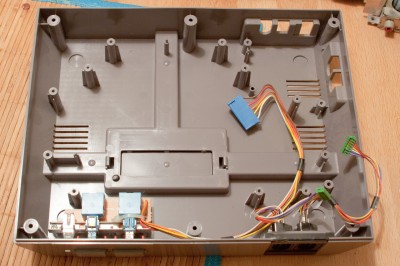
Here is what I have to work with. The insides are all removed:
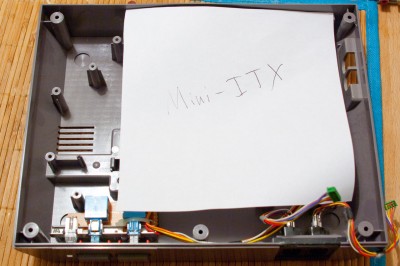
I made a template for a 6.7 x 6.7 inch Mini-ITX board. As you can see, its going to be a tight fit. In order to keep the original power/reset switches, I’m going to have to mount the board with some space underneath. That’s likely where I’ll put the hard drive, then.
The inside dimensions of the NES are: 9″ wide, 7.75″ long, and 3.25″ tall.
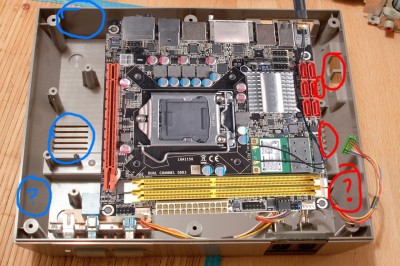
I’ll be using the various vent holes visible to put fans on for airflow. I’ll likely add a large intake hole on the back as well. There’s vents on the top of the whole right side. I imagine the airflow will be intakes on the left vents (plus added vent on left rear), and exhaust on the right side vents. I may add vents to the bottom if necessary too, and the existing holes on the right (originally composite video and mono audio jacks) will probably become a vent. All this venting will depend on the CPU temperature when running stress tests.
Finally, here’s an image of the bottom with the Zotac board photoshoped in the same size as my template. I played around with this to determine airflow. I marked potential intake vents in blue and exhaust in red. I still need to research this some though, to determine if maybe more intake is better and reverse the flow since there’s a huge top vent on the right.
Next Post: Post Removal
